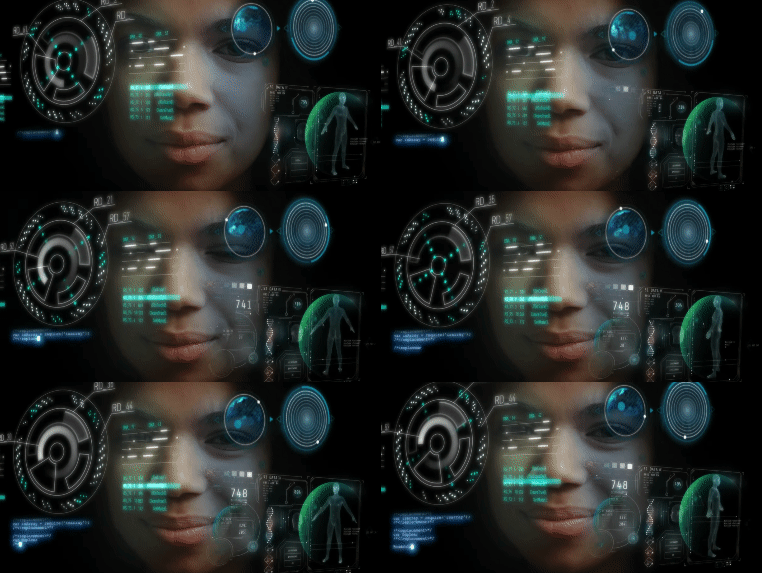
HUD Project
A portfolio project that showcases proficiency in shaders, UI, and digital humans.
Reference done in DCC: https://www.youtube.com/watch?v=r-l74gVYgM8
Getting Started
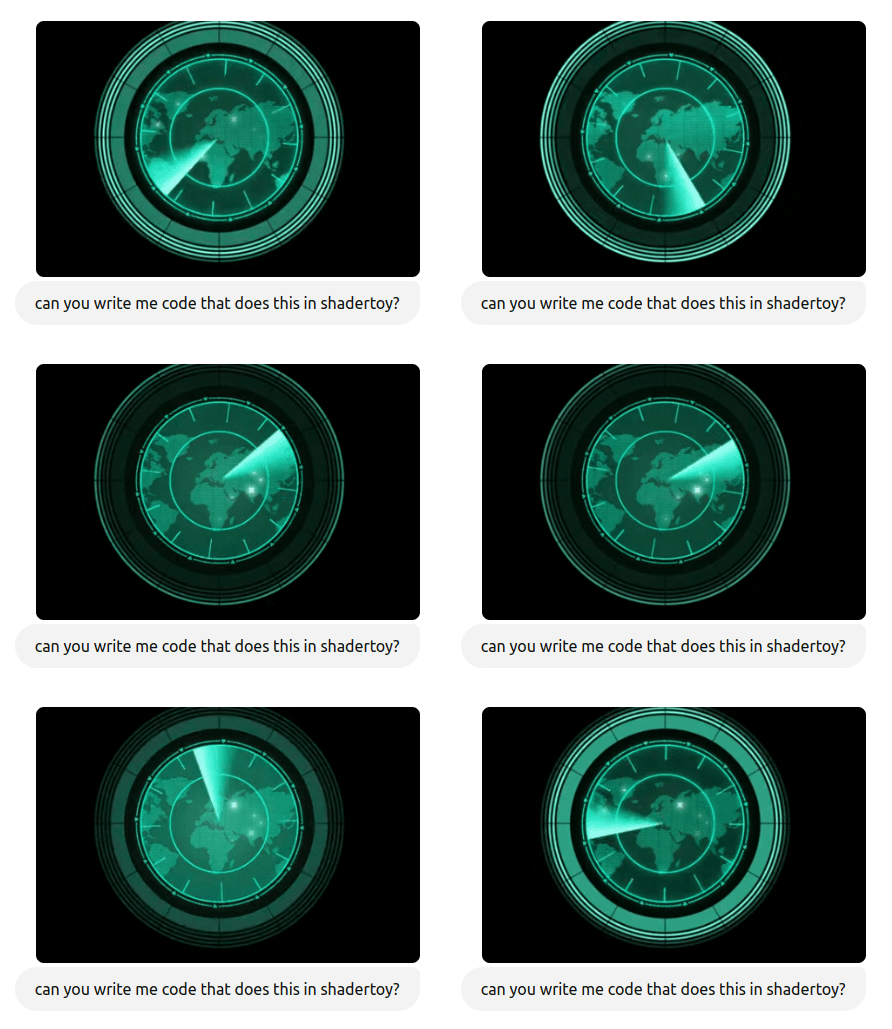
ToLets createask aChatgpt goodby Ironuploading Man-stylean HUDanimated (Heads-Up Display), several key components should be considered for both functionality and aesthetics. Here’s a breakdownGIF of the essentials:
1.done User-Centeredin Design
a - DCC
Clarity:toTheseeHUDifmust present clear, concise information without overwhelming the user. Font size, color contrast, and legibility are crucial.Information Hierarchy: Important data (e.g., vital signs, critical alerts) should be easily accessible and highly visible, while secondary infoit canbecomesmaller or tucked into corners.
2. Contextual Information Display
Mission-Critical Data: Display essential stats like power levels, suit integrity, weapon status, and navigation cues. These should be prominently placed.Environmental Awareness: Include real-time surroundings information like temperature, altitude, GPS, or proximity to objects (for flight or combat).
3. Interactive Elements
Voice-Activated Interface: Integration with an AI assistant like JARVIS that responds to voice commands for ease of control without hand interaction.Gesture-Based Controls: The ability to interactup with theHUDshaderviacodegestures,itself.suchThe
asfollowingzoomingisinthe response onspecificfirstelements or changing views.
4. 3D Visualizations
Holographic 3D Maps: For navigation, 3D maps of the surroundings, showcasing terrain, enemies, or objectives.Target Locking Systems: Dynamic, moving 3D markers for targeting enemies, with options for zooming or magnifying targets.
5. Augmented Reality Elements
Enhanced Reality: Overlay visual cues on real-world objects, like outlining enemy positions, weak points, or hazards in the environment.Combat Assistance: Visual aids for aiming, calculating trajectories, or warning of incoming attacks.
6. Motion Tracking and Sensors
Eye-Tracking Integration: A feature to control focus on specific HUD elements or automatically display data based on where the user is looking.Health & Biofeedback: Display real-time feedback on Iron Man’s physical condition or suit status, monitoring heart rate, oxygen levels, or other vitals.
7. Stylized UI Design
Minimalistic but Futuristic Aesthetics: Striking a balance between complexity and minimalism. Use sleek lines, geometric shapes, and layered transparency to create a high-tech feel.Color Coding: Use color schemes for different states—green for optimal, yellow for caution, red for danger. This helps the user quickly interpret data.Animations: Fluid transitions, rotating dials, or pulsating elements add to the futuristic appearance while keeping the user engaged.
8. Dynamic Updates and Alerts
Real-Time Data Refresh: All elements should update dynamically in real time, ensuring the latest information is always available.Alerts and Warnings: Pop-up alerts for threats, low power, or damaged suit parts with sound or flashing visuals to draw immediate attention.
9. Adaptive UI
Context-Sensitive Mode: The HUD should adapt based on Iron Man’s activity. For instance, in combat, the focus should shift to targeting and suit defense; while flying, it should highlight speed and navigation.
In essence, the goal of an Iron Man HUD is to be informative yet intuitive, offering a blend of futuristic visuals and practical data to enhance user experience, whether in combat, flight, or navigating environmentschatgpt responsetry:
To create a radar-like effect as seen in the GIF, we need to simulate several elements in ShaderToy:
- Rotating Radar Sweep: This is a rotating arc or line that moves around the radar.
- Circular Grid: We can use concentric circles and radial lines to build the structure of the radar.
- World Map Projection: We can omit the map for simplicity at first but simulate dots or blips on the radar.
Here's a basic approach to replicating this effect using ShaderToy:
Step-by-Step Breakdown:
- Circular Radar Grid: We will use mathematical functions to create circles and radial lines.
- Radar Sweep: A rotating arc that moves around the radar in sync with the
iTimevalue in ShaderToy. - Radar Dots/Blips: Simulated points that blink or pulse as the radar sweep passes over them.
// ShaderToy - Radar Simulation

void mainImage( out vec4 fragColor, in vec2 fragCoord )
{
    // Convert fragCoord to normalized UV coordinates
    vec2 uv = fragCoord / iResolution.xy;
    uv = uv * 2.0 - 1.0;  // Center the UV coordinates (-1 to 1 range)
    uv.x *= iResolution.x / iResolution.y; // Correct for aspect ratio

    vec2 center = vec2(0.0, 0.0); // Radar center at (0, 0)
    float radius = length(uv); // Distance from center
    float angle = atan(uv.y, uv.x); // Angle in radians

    // Radar grid: Concentric circles
    float grid = smoothstep(0.02, 0.03, mod(radius * 10.0, 1.0));

    // Radar grid: Radial lines (create radial divisions)
    float radialLines = smoothstep(0.01, 0.015, abs(mod(angle + 3.14159, 3.14159 / 8.0) - (3.14159 / 16.0)));

    // Radar sweep (rotating arc)
    float sweepAngle = mod(iTime * 1.5, 6.28318); // Rotates with time
    float sweep = smoothstep(0.03, 0.0, abs(angle - sweepAngle)) * smoothstep(0.5, 0.3, radius); // Controls width

    // Radar blips: Simulated dots
    float blip = smoothstep(0.02, 0.0, length(uv - vec2(sin(iTime), cos(iTime)) * 0.5));

    // Combine the elements
    vec3 color = vec3(0.0);
    color += vec3(0.2, 0.8, 0.4) * (grid + radialLines); // Radar grid color
    color += vec3(0.0, 1.0, 0.5) * sweep; // Radar sweep color
    color += vec3(1.0, 0.2, 0.2) * blip; // Blip color

    // Output final color
    fragColor = vec4(color, 1.0);
}
Explanation:
-
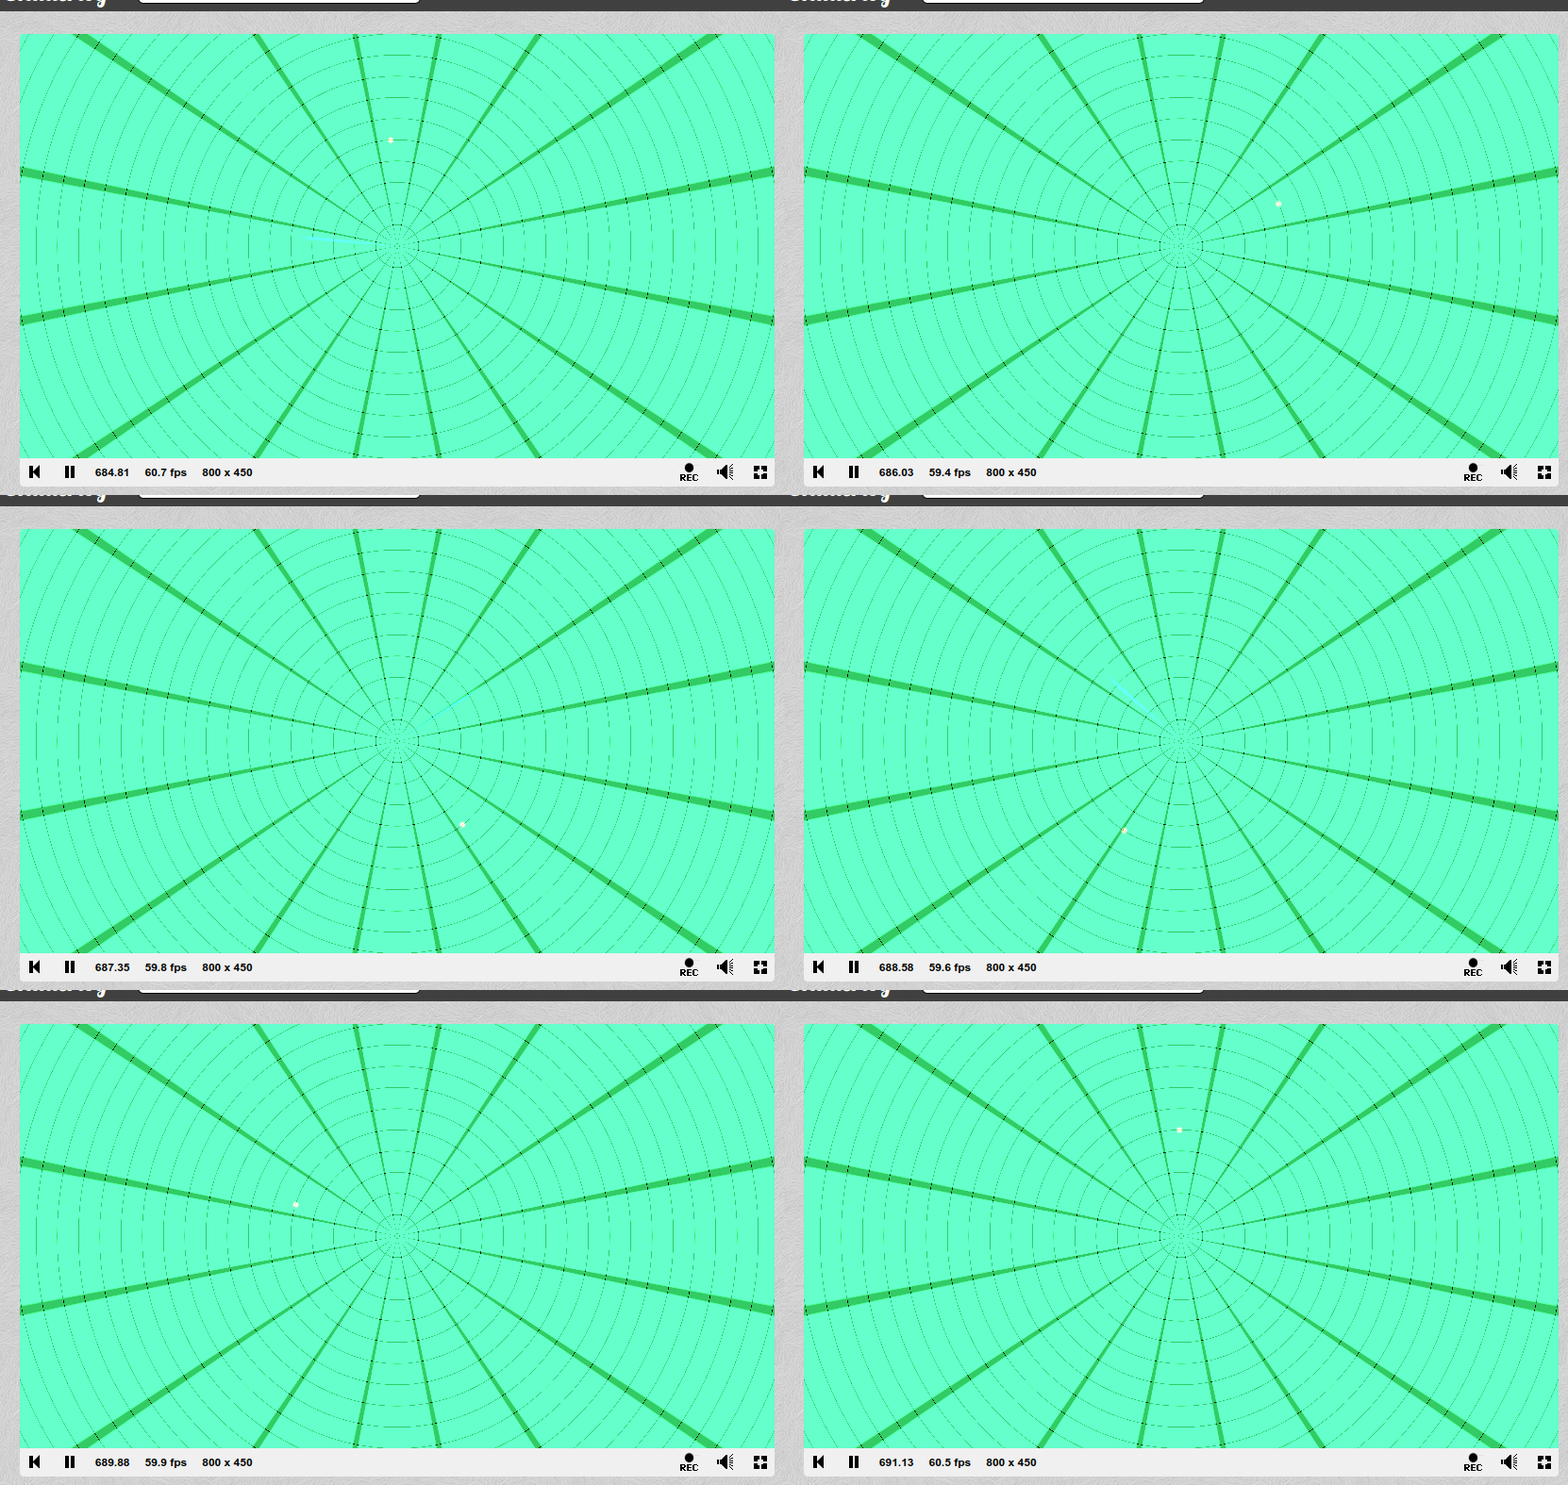
Radar Grid: We use concentric circles and radial lines to build the background grid. The circles are created using the
radiusandsmoothstep()functions, while the radial lines are based on theangleandmod()function. -
Radar Sweep: A rotating arc is created by calculating the difference between the fragment’s angle and the sweep angle (
sweepAngle). The arc is controlled by adjusting the smoothstep function to define its width and behavior. -
Blips: A simple radar blip is simulated by placing a dot at a certain location and making it pulse or blink when the radar sweep passes over it. The location is time-dependent here (sine and cosine functions), but you can add more blips by introducing random or fixed positions.
Next Steps:
- You can further enhance the radar by adding multiple blips or implementing different dot patterns.
- To simulate the map, you could map a texture or create procedural details like continent outlines. However, this would require more complexity.
You can paste this code directly into ShaderToy to test and see the rotating radar sweep with blips and a grid.
Fi
determine originnormalizemake circle


